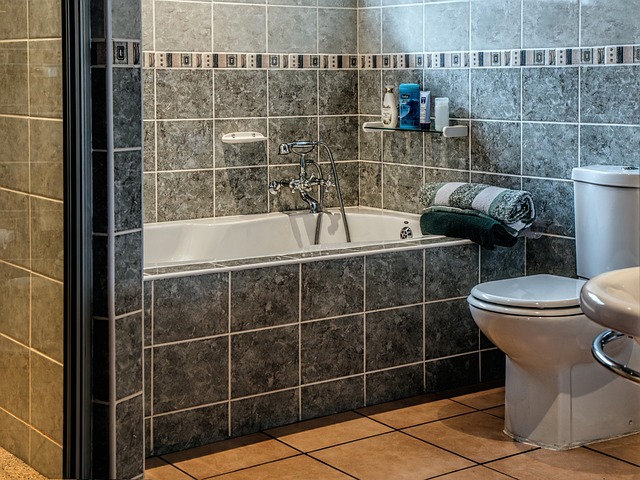
Step Number 1 – Proper Planning
As with all remodeling projects planning is absolutely essential. Going the DIY route makes finding out your costs (including materials) absolutely essential.
However, if you have made the decision to make use of a contractor get a list of comparable quotes before making your final decision. Rember to compare the number of services that they offer and issues such as warranties. A major bathroom remodeling project can cost thousands of dollars, depending on just how much work needs to be done and the brands of the materials used, such as Clearwater baths. Research is key to getting the bathroom of your dreams.
The decision of exactly what fittings and tiling (for example) you choose is not one that has to be made immediately – those can be taken once the project is underway. However, familiarizing yourself with the costs and options of styles and color schemes will be tremendously helpful.
The planning process includes drawing up a rough floor layout. In order to make this as useful as possible (whether you choose DIY or a contractor) is to map out the positions of all plumbing and electrical supply conduits. Compare this to where you want your fittings in the remodeled bathroom, that will help to get more accurate cost estimates from suppliers such as electricians and plumbers.
Bathroom contractors can be a great source of information on getting the best value for your money as far as material is concerned – and enquiring about any possible discounts is always a good idea. Bathroom contractors deal in materials such as lighting, paint, and other fixtures and can sometimes obtain wholesale prices or access to warehouse clearing specials on behalf of their customers. This can lead to significant savings.
Step 2 – The Demolition of an Old Bathroom
The thought of swinging a sledgehammer is exciting, but like all processes in the bathroom remodeling process, demolition takes careful planning, before you start swinging.
The first step is to disconnect all electrical and water supplies. This includes water supply to fixtures like sinks, toilets, showers, or bathtubs. Once the time arrives for the demolition process to start, ensure that you or the contractor do not damage those fixtures that you need be keeping.
The risk of damage to hidden piping can be extremely high when removing tiling so extra care must be taken. Both the toilet and sink need to be carefully removed in one piece. Once this has been done, check spaces for water damage or mildew. This is the perfect opportunity to address these problems. Be sure to remove all other fittings such as lights, towel racks, baseboards, and other accessories prior to additional work commencing.
Step 3 – Adjustments to Plumbing
Once you have safely removed all fixtures and exposed the underlying wall it is time to start making adjustments to the plumbing to ensure that your new bath and shower – and toilet look exceptional and perform perfectly.
You may need to install a water line extension if you are fitting dual showerheads or replace outdated shower controls. Plumbing modifications will also be required if a dual sink (double vanity) is fitted or the double vanity is replaced with a single sink.
Step 4 – Focus on the Electrical Work
With the walls open any electrical work that has to be done presents far fewer challenges. Increasing the efficiency of your bathroom by replacing 15-amp wiring with 20-amp can help the performance and lower energy consumption of appliances like hair dryers or towel warmers.
This is also the perfect time to relocate electrical outlets or light fittings, as well as light switches. The use of GFCI receptacles for outlets near water is a good idea. This will increase the functionality and ease of use of your new vanity area.
Step 5 – Installing Blocking for Grab Bars
While the walls are open install the blocking between wall studs that are required for fitting grab bars in the bathroom. This will ensure that the grab bars are adequately fixed in place and can cope with loading. For those who are in search of an alternative to the blocking process, there are options. One example is having solid material to secure safety features near the bathtub, shower stall, and toilet. Taking this into account now will save you time and effort at a later date.

